How to Use Watercolor Markers (Without Muddy Blends or Frustration)
Summary: Watercolor markers combine the precision of markers with the soft blending of watercolor. By adding water, crisp lines transform into smooth, flowing color that behaves more like paint. With just a few basic tools and simple techniques like blending, layering, and gradients, you can quickly create expressive effects. Over time, learning to control water and avoid overworking the color makes blending cleaner and more natural.
Watercolor markers have a special kind of magic. They give you that soft, painterly look without mixing palettes or setting up a full painting session. What I really love about them is how quickly you can start with a sheet of paper, a brush, a little water, and you’re already moving color around.
The first time you add water, though, things can change quickly. The color might spread farther than you expected, bloom into an edge you didn’t plan, or turn your carefully placed shadow dull. If that has happened, you are not doing anything wrong. That’s simply the moment watercolor starts teaching you how it wants to move. And, most of that learning happens while the ink is still wet.
In this guide, I’ll cover the basic tools, a few core techniques, and simple ways to practice. Nothing complicated here, just a few simple habits that make watercolor markers easier to control.
What Are Watercolor Markers?
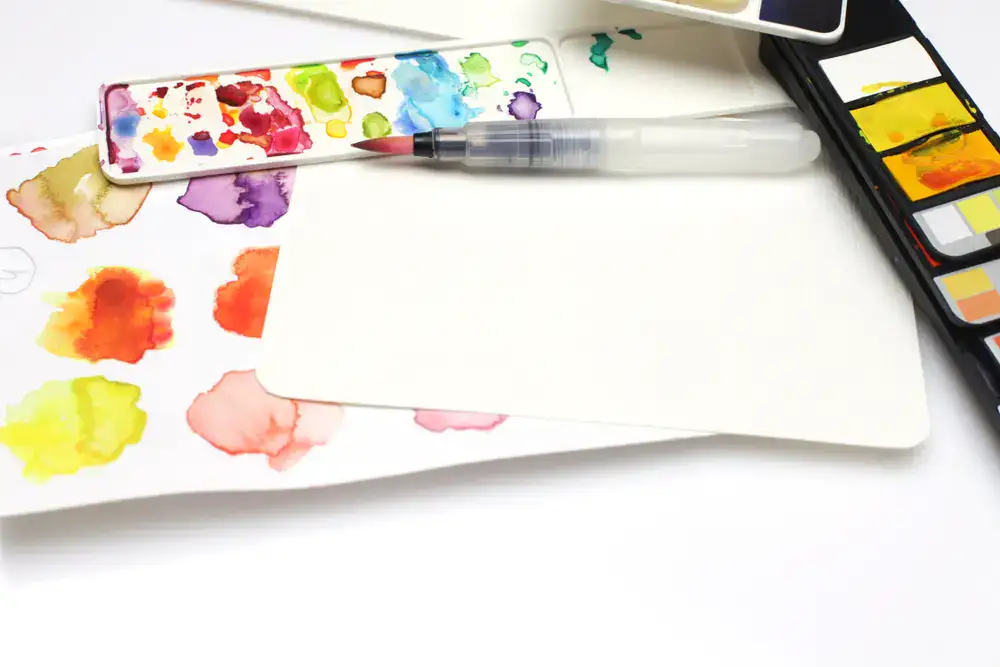
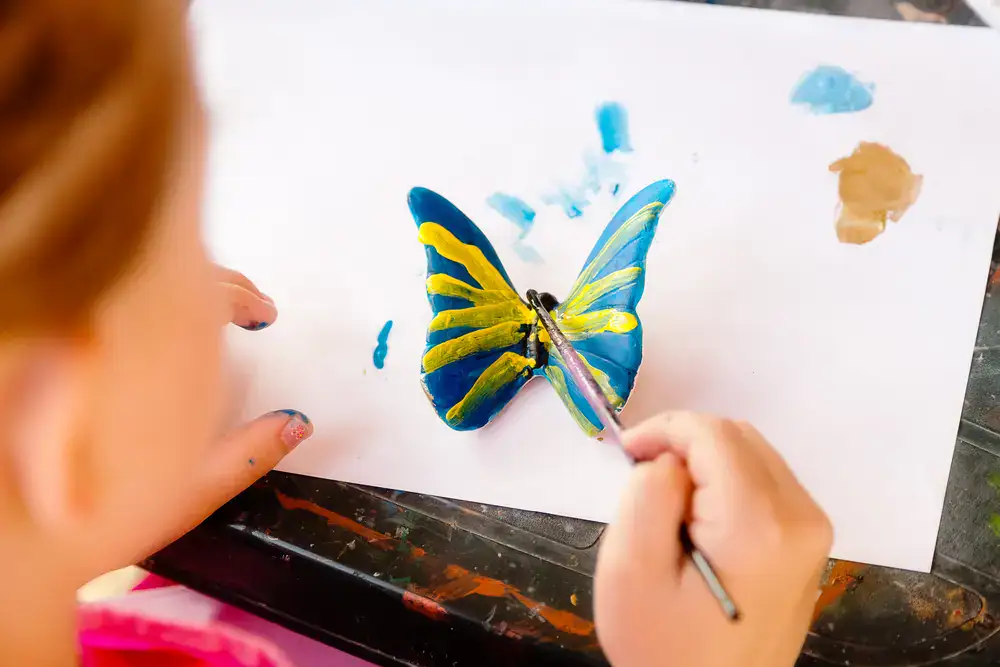
Watercolor markers effortlessly shift from crisp lines to soft, flowing color.
These markers use water-based ink that reacts to the touch of water. You can apply color with the tip, then move, soften, or spread it using a damp brush. That simple step, adding water after the original color, is what turns marker strokes into something that looks more like paint.
What surprised me at first was how adjustable they felt once I stopped trying to fix everything immediately. You can soften sharp lines and even lift some color if you move quickly enough. That means small mistakes can often be shifted or softened if you catch them early. That means you are not locked into your first stroke the way you are with permanent markers.
Most watercolor markers have flexible brush tips that respond to pressure, sometimes called brush nibs. Depending on the brand, they may be labeled as watercolor brush markers, watercolor pens, or brush pens.
Unlike traditional markers, they blend and move with water, but they still feel much faster and less messy than setting up a full watercolor palette.
What Watercolor Markers Taught Me About Control
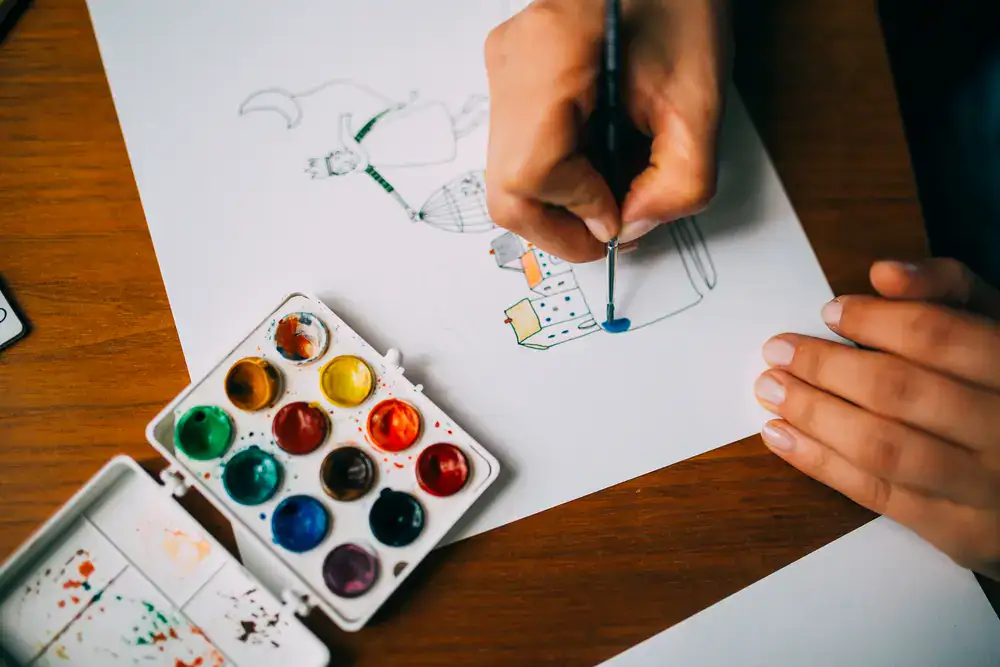
Their charm lies in how forgiving they are once water takes over.
One of the biggest advantages is how quickly you can start. You can sit down with a few colors, a cup of water, and a sheet of paper and start blending within minutes.
There is also something satisfying about controlling where the ink stays crisp and where it melts. Sometimes I’ll outline a floral shape and soften only the petals, leaving the edges cleanly defined. Other times, I’ll keep lettering sharp and let the background fade behind it.
Ultimately, what changed everything for me, though, was realizing that overworking is what turns clean blends muddy.
When I first started, I kept brushing over the same area again and again, trying to perfect every transition. I remember trying to smooth a sky for nearly five minutes straight. I was absolutely sure one more pass would fix it. Instead, the whole section turned a dull gray, and the paper started to peel.
That was the moment I realized watercolor rewards restraint more than control. Once I learned to stop earlier than I felt comfortable, my blends looked cleaner almost immediately.
Choosing the Right Supplies
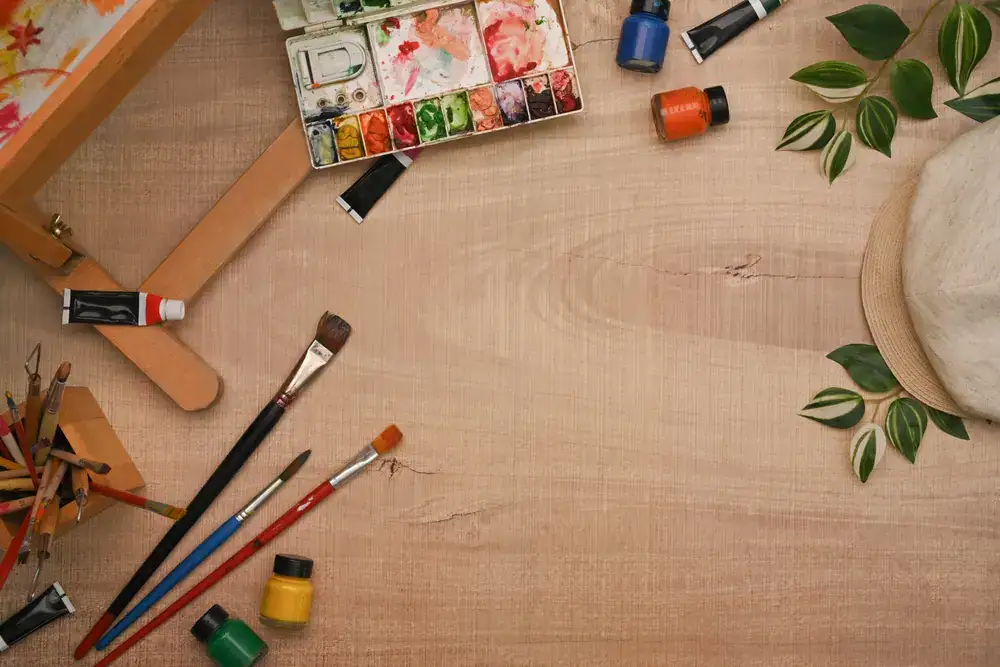
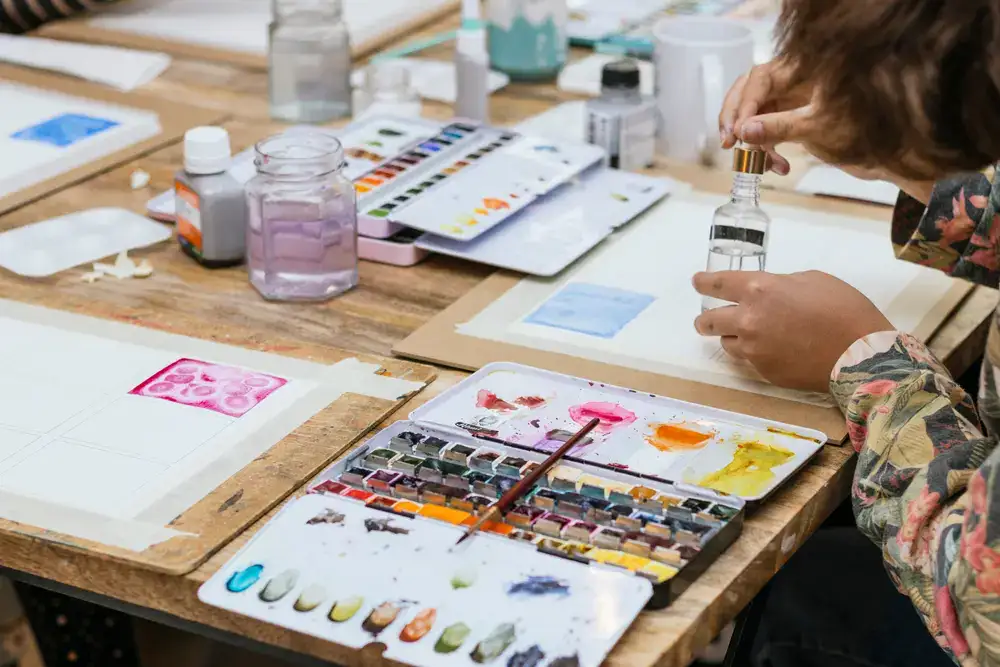
A few thoughtful tools matter much more than a drawer full of supplies.
You do not need a large collection of watercolour markers to get good results. In fact, too many options can slow down your learning. The first time I bought a big marker set, I spent more time deciding which color to use than actually painting.
Watercolor Markers
Start small. Six to twelve colors are more than enough to understand how blending works. A limited palette also pushes you to layer colors instead of switching markers constantly, which quietly builds better control.
Watercolor Paper
Paper matters even more than markers. Printer paper absorbs water immediately, and the fibers begin lifting if you brush over the same area repeatedly. That is when blends start looking rough instead of soft.
Watercolor paper changes the experience entirely. A 140 lb (300 gsm) sheet holds moisture on the surface longer, giving you time to guide the pigment instead of chasing it around the page. Cold-pressed paper is especially forgiving because it offers a balance of texture and smooth blending.
I learned this after ruining a handful of practice sheets and assuming my technique was the problem. Switching paper fixed half the issue overnight.
Watercolor Brushes
A simple round paint brush or water brush is enough for most techniques. What matters more is how much water sits in the bristles. Beginners almost always use too much. If the paper looks glossy or puddled, there is already more water than you need.
Additional Supplies
Scrap Paper: I like to keep a scrap sheet beside me and tap the brush on it before touching the page. That tiny habit prevents most of the flooding that leads to muddy blends.
Clean Water: Fresh water matters more than people expect. If your colors suddenly start looking dull, the water may simply need changing. I ignored that step for a long time, until my blues kept turning gray.
Clean Cloth: A small towel or cloth nearby makes it easy to lift color or dry a brush quickly. Once it’s there, you’ll find yourself reaching for it constantly.
Spray Bottle: A spray bottle is handy for lightly dampening a palette or practice sheet, especially when experimenting with softer blends.
How to Blend and Control the Color
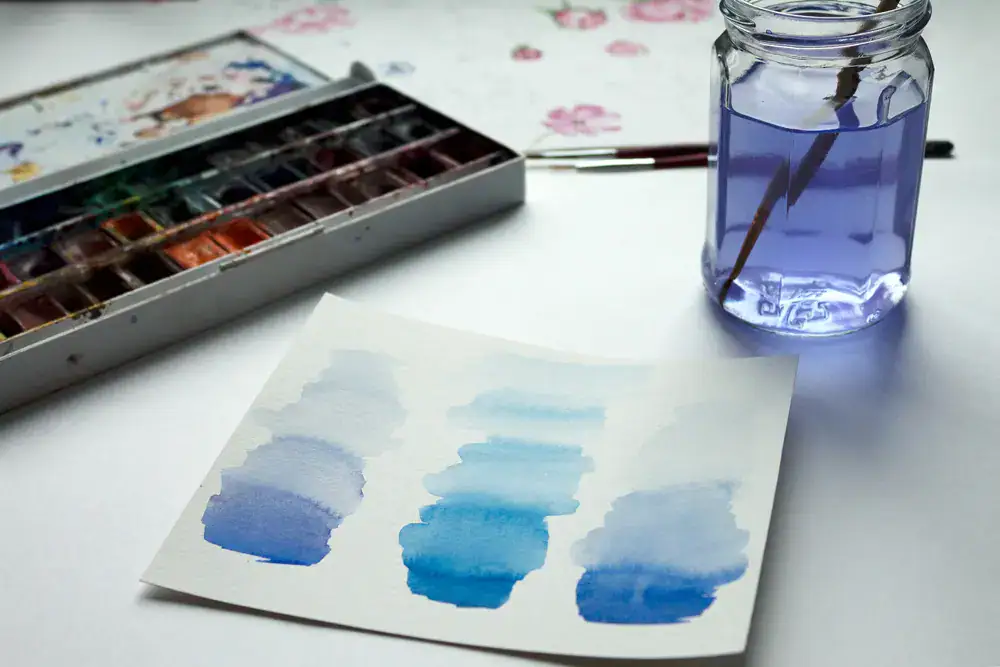
Blending watercolor markers isn’t about perfection; it’s about watching water move pigment.
This is the moment where watercolor markers start making sense. Once you see how pigment reacts to water, the tools stop feeling unpredictable.
The first time you try blending, move slowly and watch what the pigment does instead of aiming for a finished piece. The edges of the color usually tell you more than the center.
Step 1: Draw Directly on Dry Paper
Begin by drawing directly on dry watercolor paper. Light pressure keeps the pigment softer and easier to move once water is added. Heavy pressure packs more dye into the paper, which can spread quickly and overpower lighter areas later.
Step 2: Use Water to Activate the Color
Then introduce clear water. A lightly damp brush will loosen the ink and begin spreading it outward. The marker line softens and slowly turns into something that behaves more like paint.
Start with less water than you think you need. You can always add more water, but too much creates puddles, and removing water once pigment starts moving is harder.
The goal is transparency, not saturation. Those airy watercolor effects people love usually come from restraint, not from adding more pigment.
Step 3: Blend Colors Together
Blending colors is easiest while the surface is still slightly damp. Place two colors close to each other and gently pull one into the other with a clean brush.
Avoid scrubbing back and forth. A few gentle strokes are enough.
I used to keep brushing long after the colors had already merged. All it did was flatten the color and make the entire surface dull. Watercolor markers reward a lighter touch.
5 Techniques to Practice
Small exercises teach blending faster than chasing a flawless piece.
Once you’re comfortable with basic blending, a few simple experiments can change the mood of your work completely.
Adding Layers to Combine Colors
Layering is one of the most helpful habits to learn. Let one layer dry before adding the next. This keeps colors clearer and prevents them from turning muddy. If the paper still feels cool to the touch, it probably hasn’t dried yet.
Applying a new layer too soon can cause pigments to merge unintentionally. Gradual layering, on the other hand, builds depth in a way that feels much more like painting than coloring.
Making a Gradient Wash
Gradient washes are a simple way to practice control. Apply a heavy layer of color along one edge, then gently pull it outward with a damp brush. Watching how the pigment fades teaches control more effectively than most exercises, showing exactly how far it travels under varying moisture levels.
Lifting Color and Adding Highlights
Lifting color is also useful for highlights. While the area is still wet, a clean brush or paper towel can pull pigment back off the page.
From my experience, time matters. Once the surface dries, lifting becomes much harder.
Adding Texture and Visual Interest
Texture experiments can be surprisingly fun, too. Salt sprinkled onto wet pigment creates small bursts where it absorbs moisture. Plastic wrap pressed onto damp paint redirects how the pigment dries. These little experiments often produce unpredictable texture patterns that you would never plan intentionally.
Ink and watercolor also combine beautifully. Adding pen lines after the paint dries keeps small details crisp while the watercolor stays soft underneath.
Working with Different Surfaces
The surface you choose directly affects how the ink will behave.
On dry watercolor paper, pigment stays closer to where you place it. This makes it easier to keep clear lines and define shapes. On wet paper, the opposite occurs. Color spreads freely, and transitions soften almost immediately. The first time I tried this, the pigment traveled much farther than I expected. The effect, though, was surprisingly beautiful.
If the color begins to widen farther than expected, the easiest solution is to reduce the moisture on your paintbrush before continuing. Trying to correct this afterward rarely works as well.
Canvas, on the other hand, behaves differently still. Its texture interrupts smooth blending, and the paint absorbs unevenly. The results can still be interesting, but the look will be less soft and more textured with visible brush strokes.
Advanced Shading and Color Control
Shading becomes more precise once you’re comfortable using these basic watercolor techniques.
One method I often use is scribbling marker ink onto a non-porous surface and picking it up with a damp brush. This creates a diluted, transparent wash that behaves more like traditional watercolor painting.
Building color slowly also makes a big difference. Several light layers usually create smoother depth than one heavy pass.
Over time, you will start noticing which colors stay bright together and which combinations turn muted. Some pairings blend beautifully while others dull quickly. Learning those pairings simply takes a little experimentation.
Common Mistakes and How to Avoid Them
Most watercolor frustrations come from simple habits you can easily adjust.
Using Too Much Water: Most problems come from water control, not color choice. Extra water makes pigment spread uncontrollably, so a lightly wet brush is usually enough.
Using the Wrong Paper: Paper that isn’t meant for water absorbs pigment too quickly, making blending tricky. Switching to proper paper often solves issues faster than changing your technique.
Over-Blending Colors: Excessive blending dulls the vibrancy. After just a few strokes, pigments have usually mixed enough.
Not Letting Layers Dry: Rushing layers before they dry almost always causes bleeding. Waiting a moment saves more time than trying to fix mistakes later.
Creative Ideas and Projects
Simple projects are often where everything you’ve practiced finally starts to click.
Greeting cards and bookmarks are perfect for experimenting with gradients and soft backgrounds without committing to a large composition. The smaller format also makes progress easier to notice.
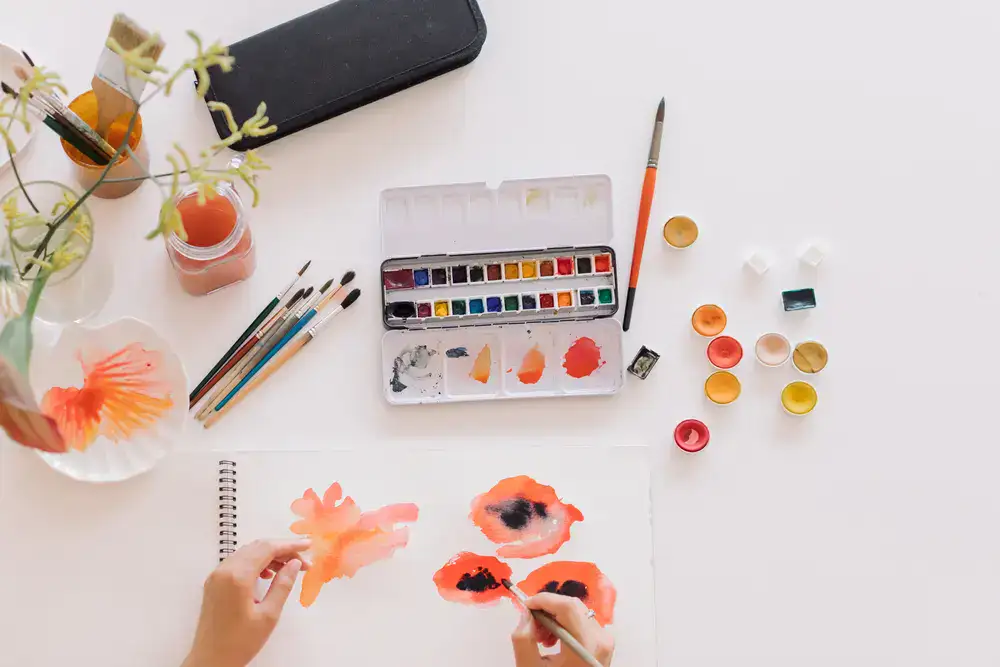
When you feel comfortable, try simple florals, abstract washes, or landscape silhouettes. These subjects highlight the natural strengths of watercolor markers like soft skies, transparent backgrounds, and flowing edges.
I like using sketchbooks for experimentation. They give you space to test colors, adjust water levels, and observe how pigment behaves over time.
Eventually, you start noticing patterns. Certain shades blend effortlessly together, while others respond better with less water. That awareness only develops through practice and repetition.
Final Thoughts
Beautiful watercolor effects emerge when you notice how ink and water interact.
Watercolor markers reward patience and observation. The difference between frustration and flow often comes down to water control and paper quality.
After a few sessions, you’ll begin to anticipate how each color spreads and how different colors interact. That understanding turns simple strokes into expressive paint-like results.
If you are ready to practice and learn more about these techniques, explore our printable coloring pages and try these blending techniques for yourself. The best way to understand watercolor is still the simplest: a little color, a little water, and a page to play on.