How to Bind a Coloring Book: A Step-by-Step Guide for Spiral Binding
Coloring has become one of the most loved ways to relax, unwind, and escape daily stress. It’s a therapeutic and creative offline activity that brings calm and joy to so many.
Besides the regular paperbacks, digital and printable coloring books are on the rise, too. More and more colorists love them because of the freedom they offer.
You can print as many copies as you like, redo a page if you made a mistake, or recolor one you loved just to experiment with a new palette. You also get to choose your favorite paper type.
And then there’s the cherry on top: binding. A good binding doesn’t just hold your pages together, as it elevates the whole coloring experience! Spiral binding, for instance, makes it easy to turn pages flat while you color, and it looks absolutely adorable with pastel coils or metallic spirals. Plus, a custom-bound book makes for a thoughtful, handmade gift that’s both personal and charming.
We love the spiral binding because the books turn out cuter, and we prefer the binding on top because it makes it easier to turn the pages and color them.
Materials and Tools You’ll Need
Before you start binding your coloring book, gather the tools you will need. Nothing fancy is required; you can keep everything simple and still get a cute, well-made result. These basic materials make the whole process smoother and help keep your pages neat and secure.
1. Coloring Pages Printed on Your Chosen Paper
We prefer to use just the basic “office” paper and then put a plastic sheet or thicker paper underneath. Why? Any “better paper” doesn’t fit our coloring goals. If they are too thick, they “suck” too much of the marker color, and if the glossy paper doesn’t absorb and dry the colors.
2. Front and Back Cover
You can also bind just coloring pages, but if you add the covers, you create a real and cute book.
3. Paper Cutter (or Guillotine Cutter)
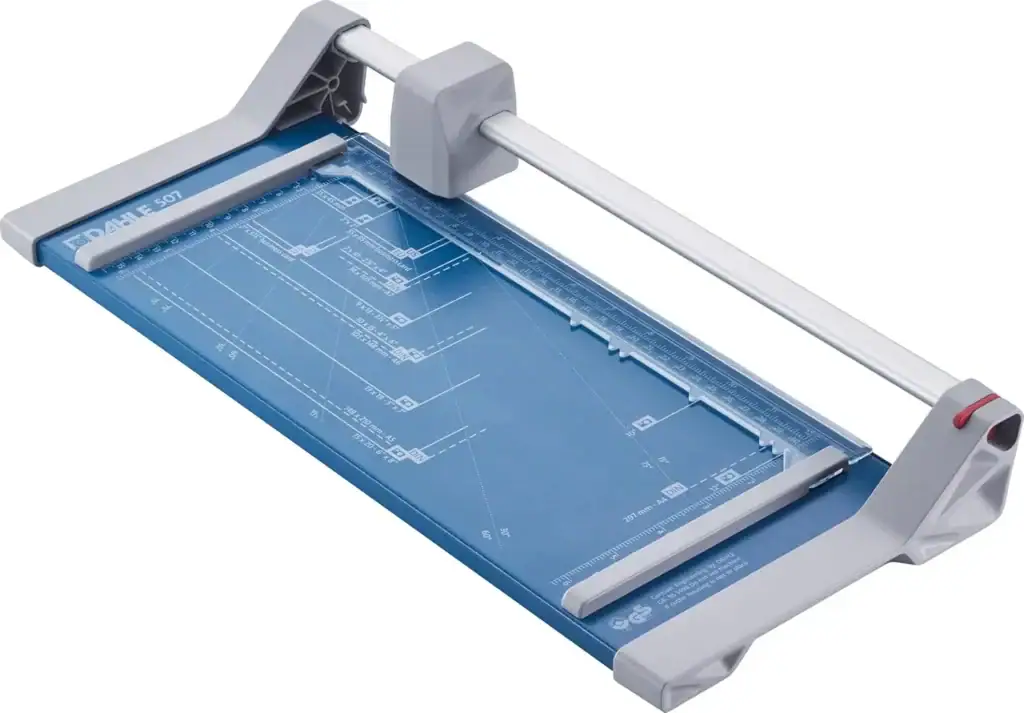
For trimming everything to the exact size you want, a paper cutter makes the edges clean and neat, and it’s much easier than scissors when you are working with multiple pages.
What we use: We personally use the Dahle 507 Premium. It’s a little more of an investment, but it truly feels like a “buy it once and keep it for life” tool. You can get it on Amazon.
More budget-friendly options: If you’re looking for something simpler (and more affordable), here’s a great option available on Amazon.
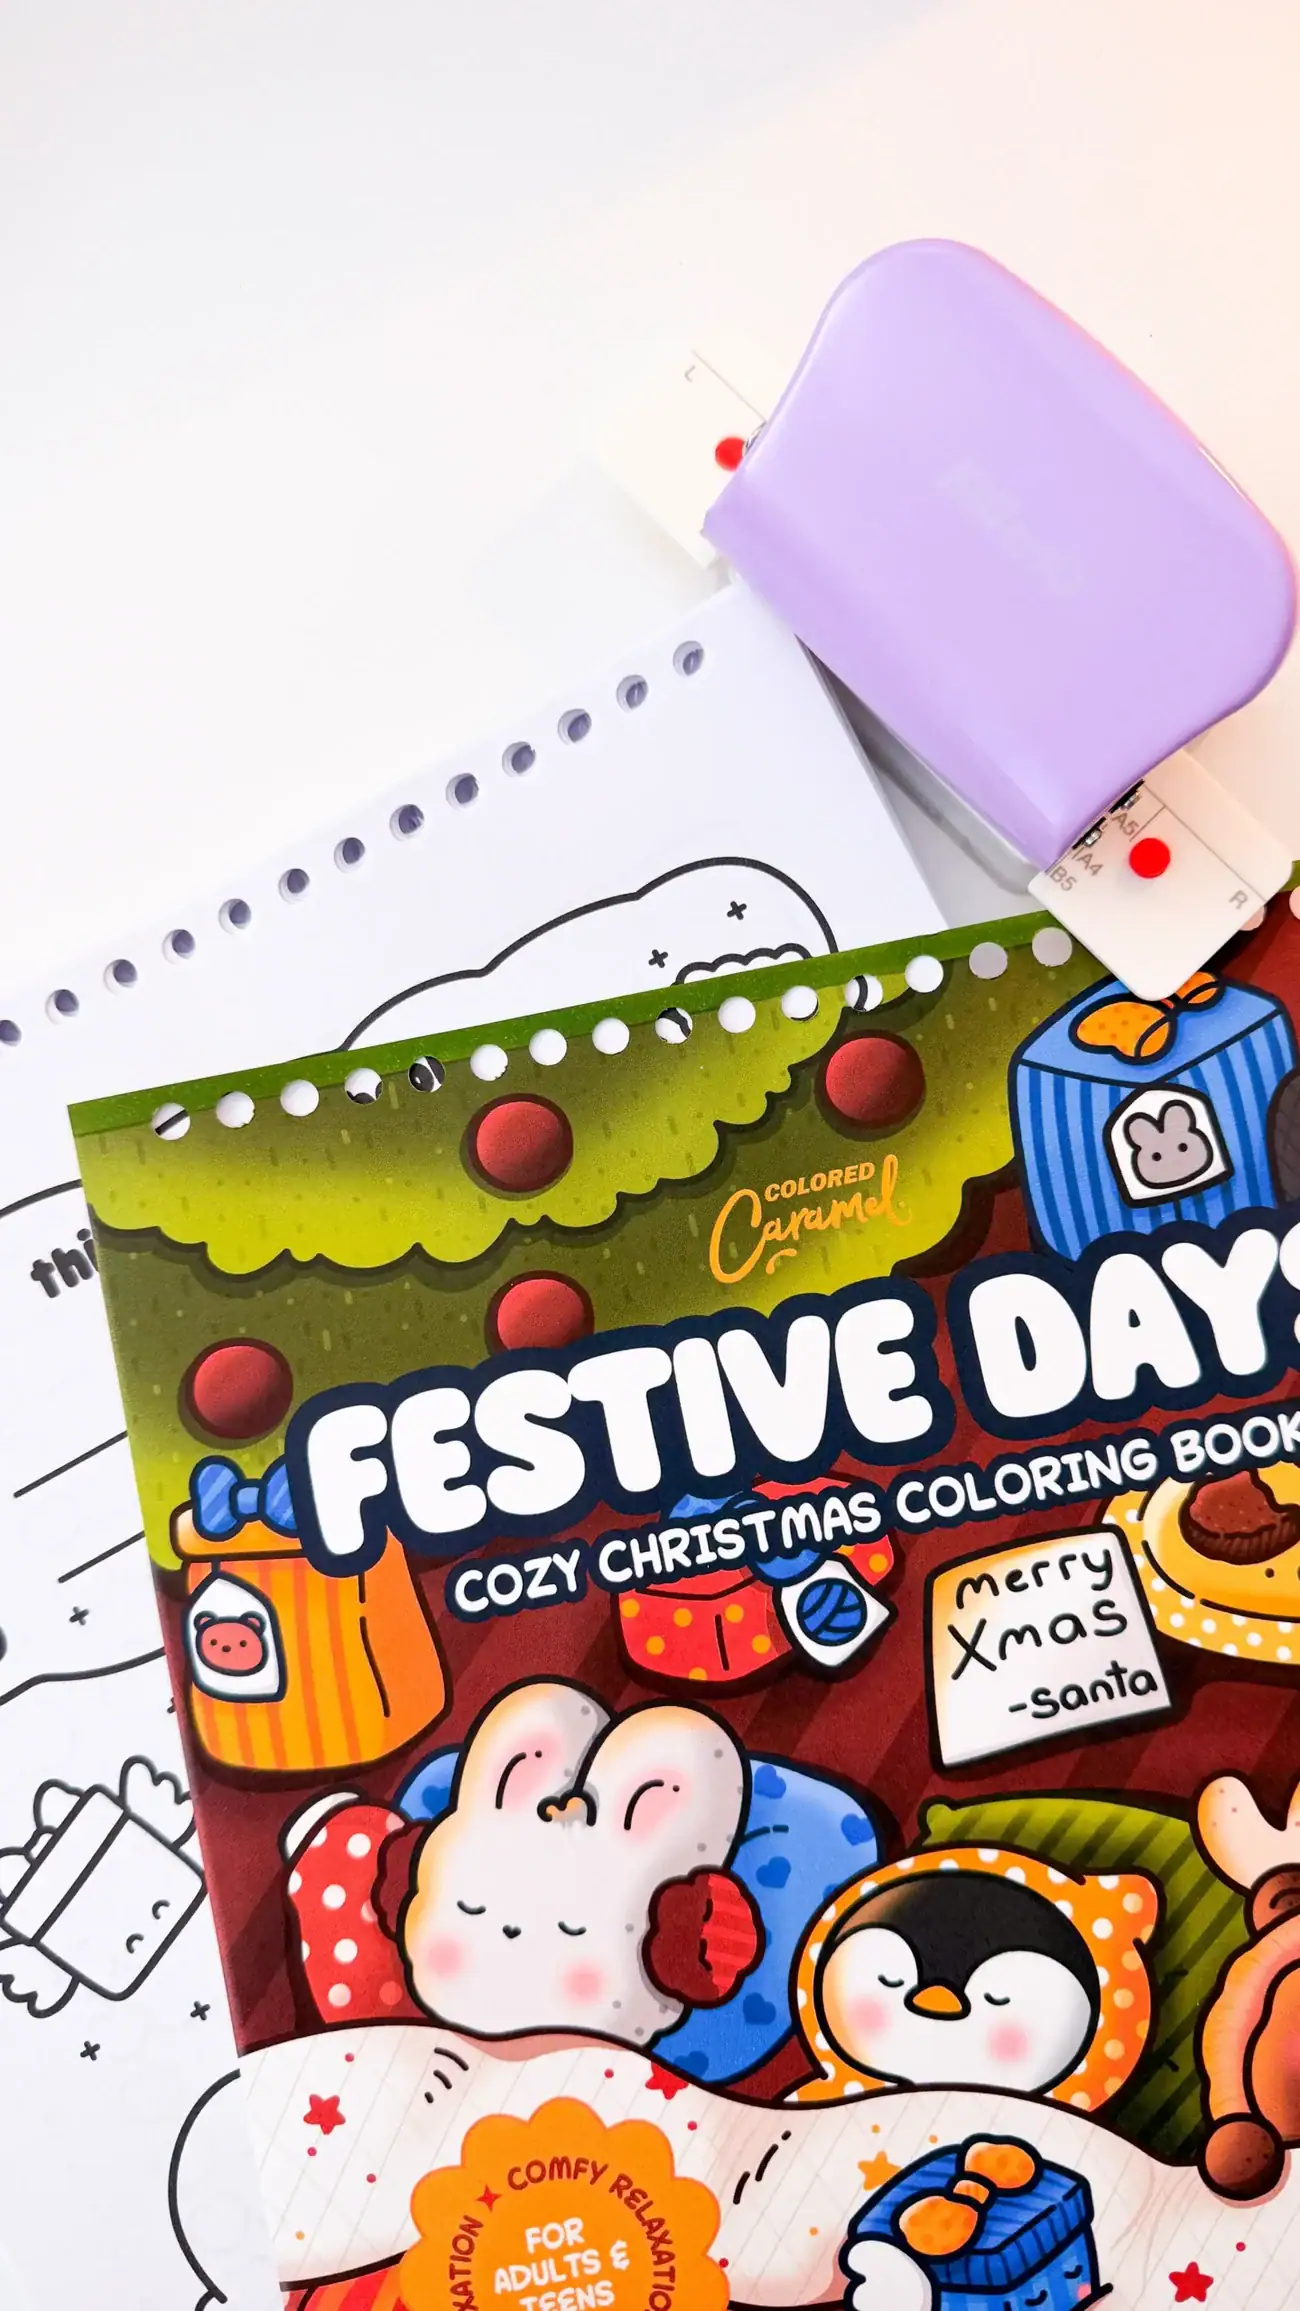
4. 6-Hole Puncher
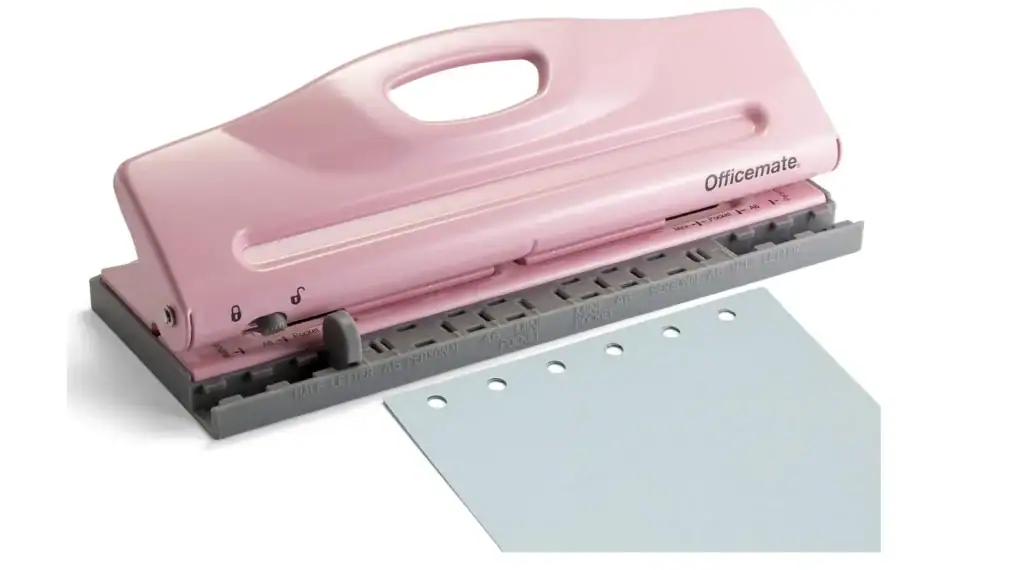
This is what creates the line of holes the coil will go through. Most “6-hole punchers” work perfectly because the holes line up well for spiral coils, and they punch several pages at once. Your goal is clean, evenly spaced holes so the book turns nicely.
What we found on Amazon: Here is a simple, reliable option that will do the job perfectly for spiral binding: Officemate Adjustable 6-Hole Puncher.
5. Spiral Binding Coil
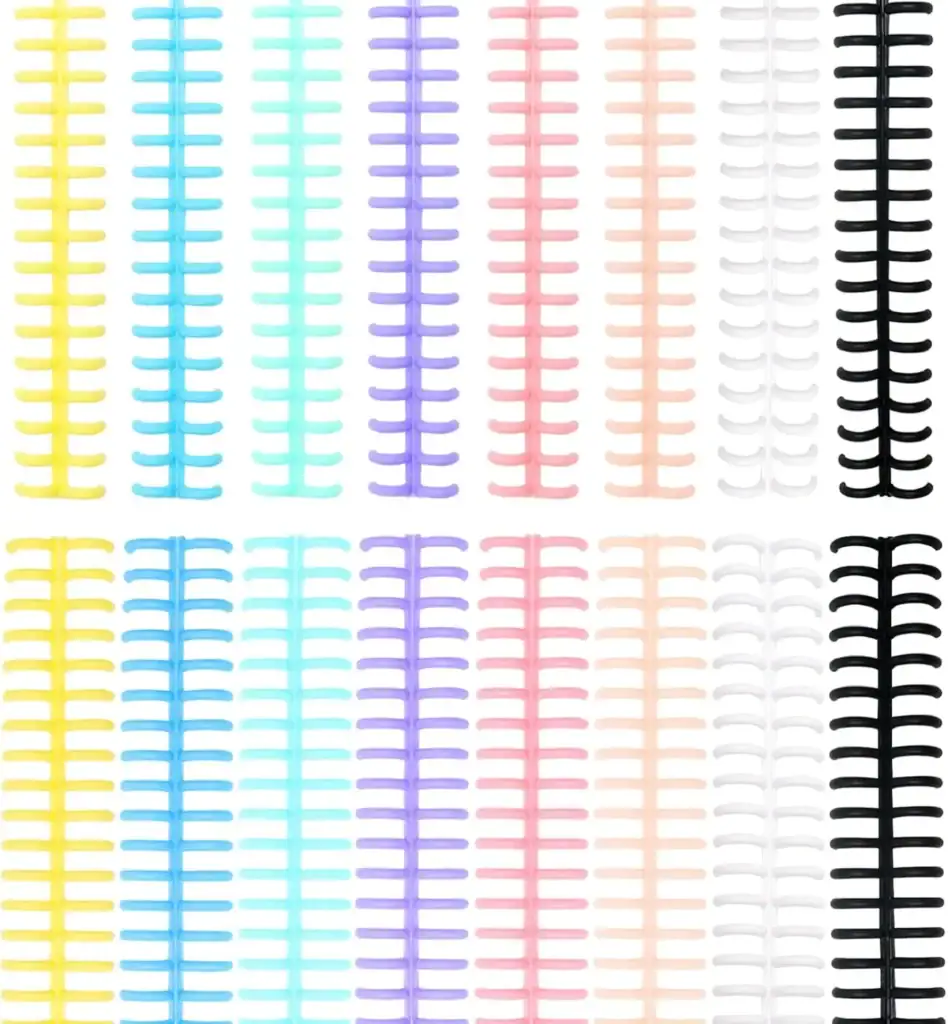
These coils come in different colors, materials, and sizes. Pastel coils? Metallic spirals? Black classics? Choose one that matches your theme, as the spiral is like your book’s accessory! You will trim it to the perfect length later.
These look fun: We especially love the colored spiral options that make the books look extra cute! You can find these on Amazon as well: 16 PCS Comb Binding Spines.
Step-by-Step Binding Process
Once you have your materials ready, it’s time to put your loose pages into the cutest spiral-bound coloring book ever. The steps are easy to follow, even if you have never done any binding before. Just take your time and enjoy the process, as it’s part of the fun of creating your own custom coloring book. Let’s find out how to do it slowly, simply, and stress-free.
If you prefer seeing the process in action, we also made a short, super simple video that shows exactly how spiral binding works. It’s filmed using another one of our books, but the steps are the same, and it gives you a clear idea of what your own handmade book can look like.
Step 1: Using the paper cutter, cut the pages + front and back cover to a desired size
Using your paper cutter, cut your printed coloring pages, along with the front and back cover, to your desired book size. Some colorists love A5, others prefer US Letter, so choose whatever feels coziest to hold while coloring.
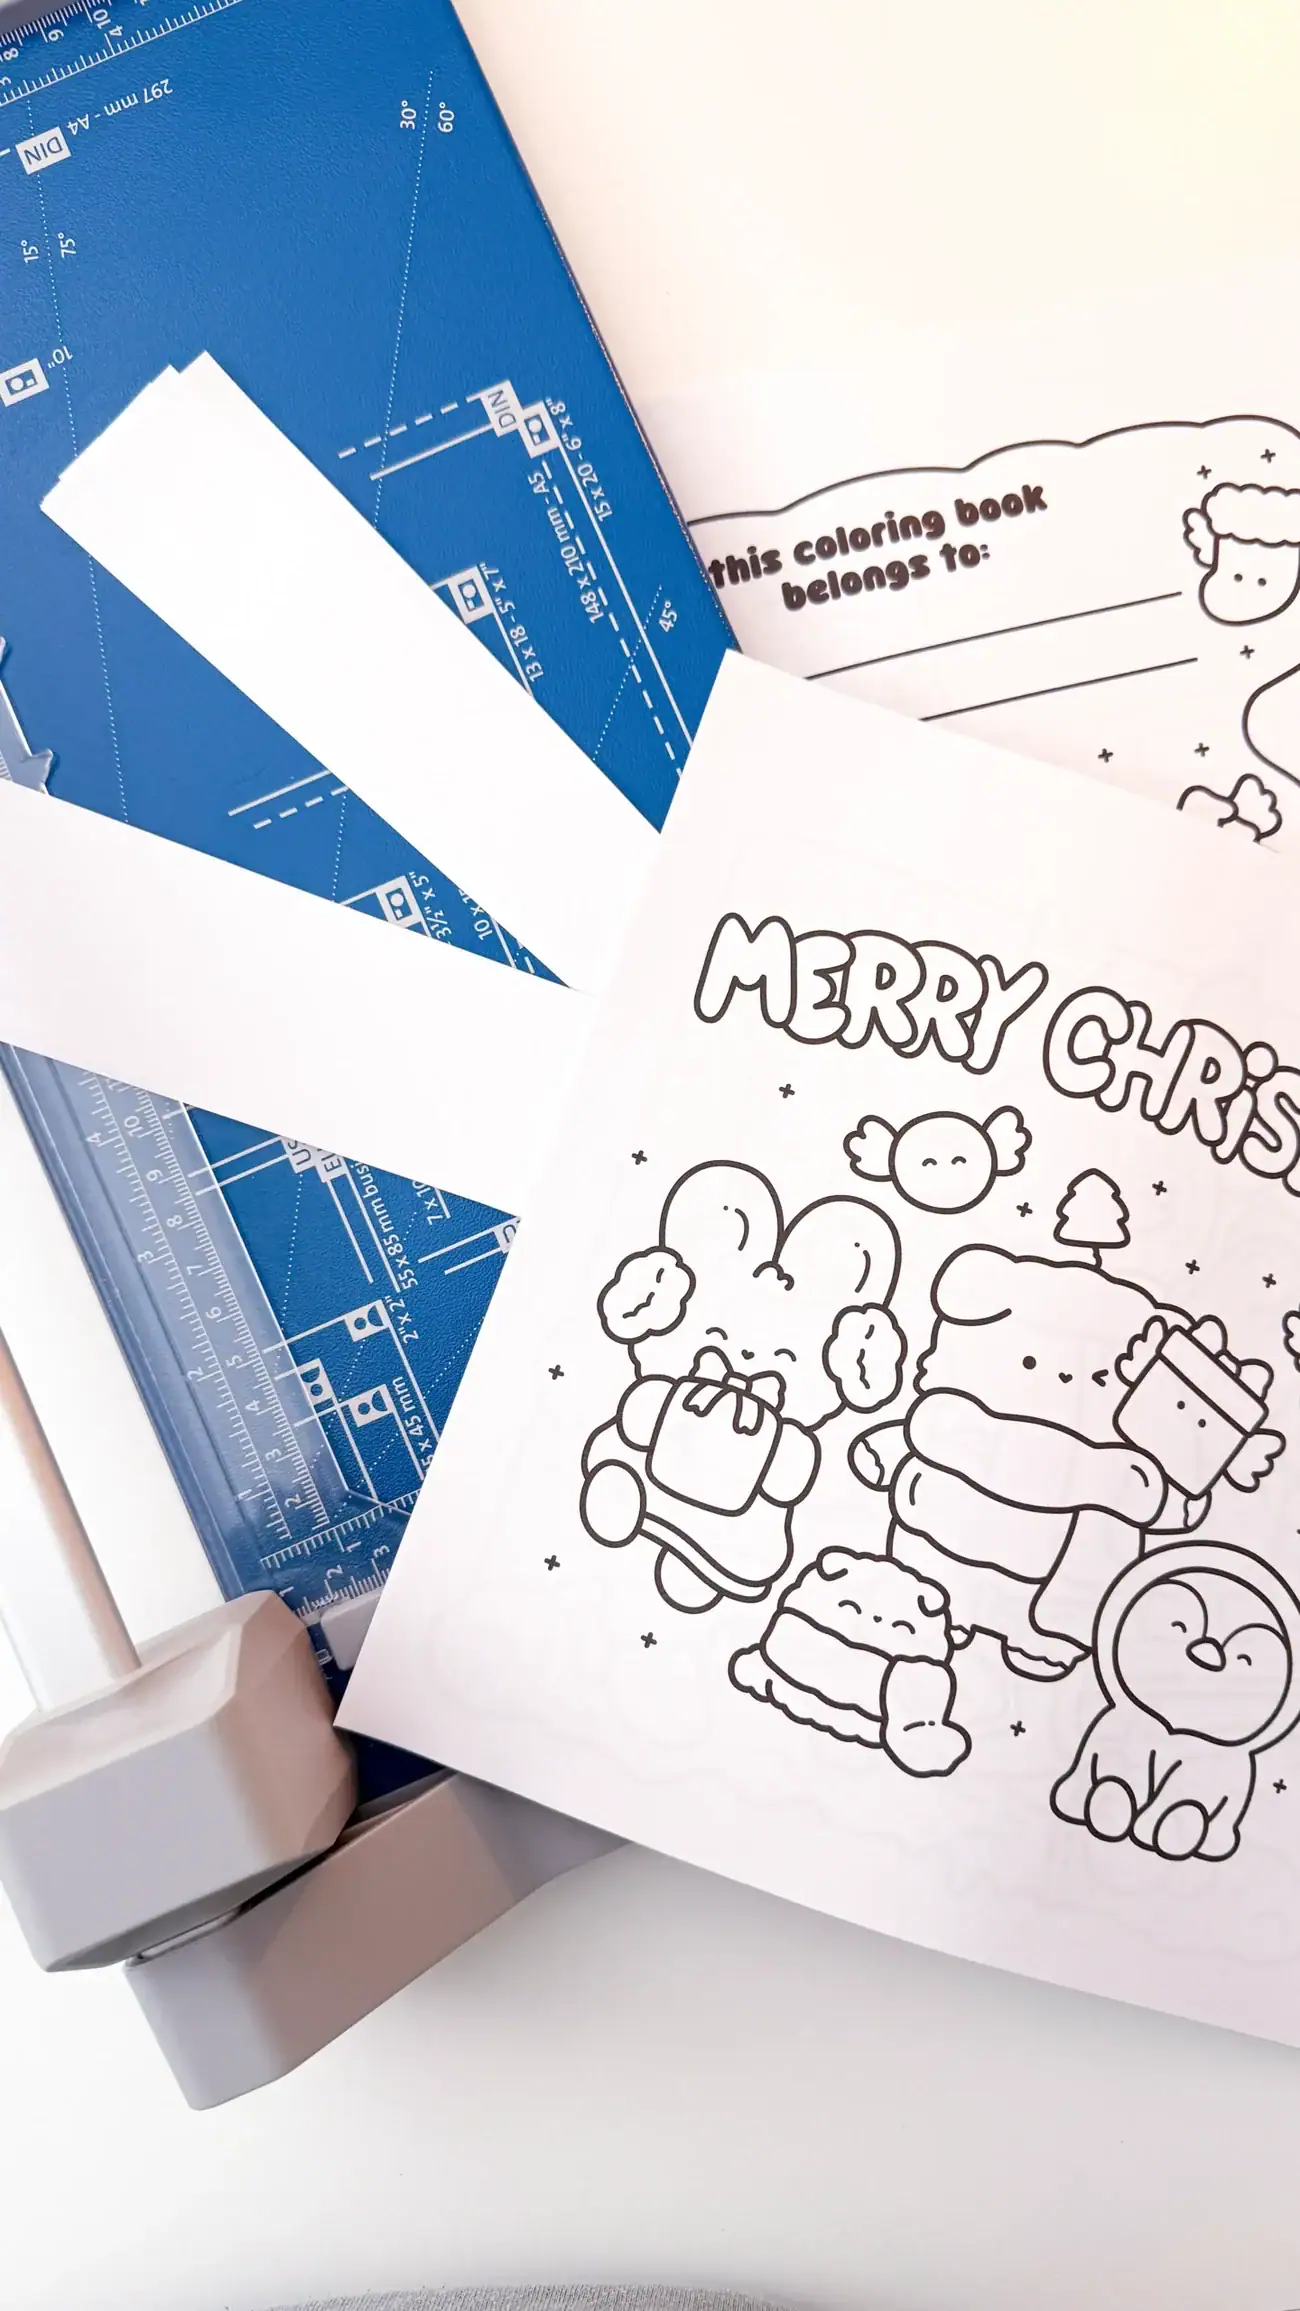
✨ Tip: Leave a slightly larger margin on the side where the spiral will go. This gives your markers a little breathing room and makes coloring near the coil so much easier.
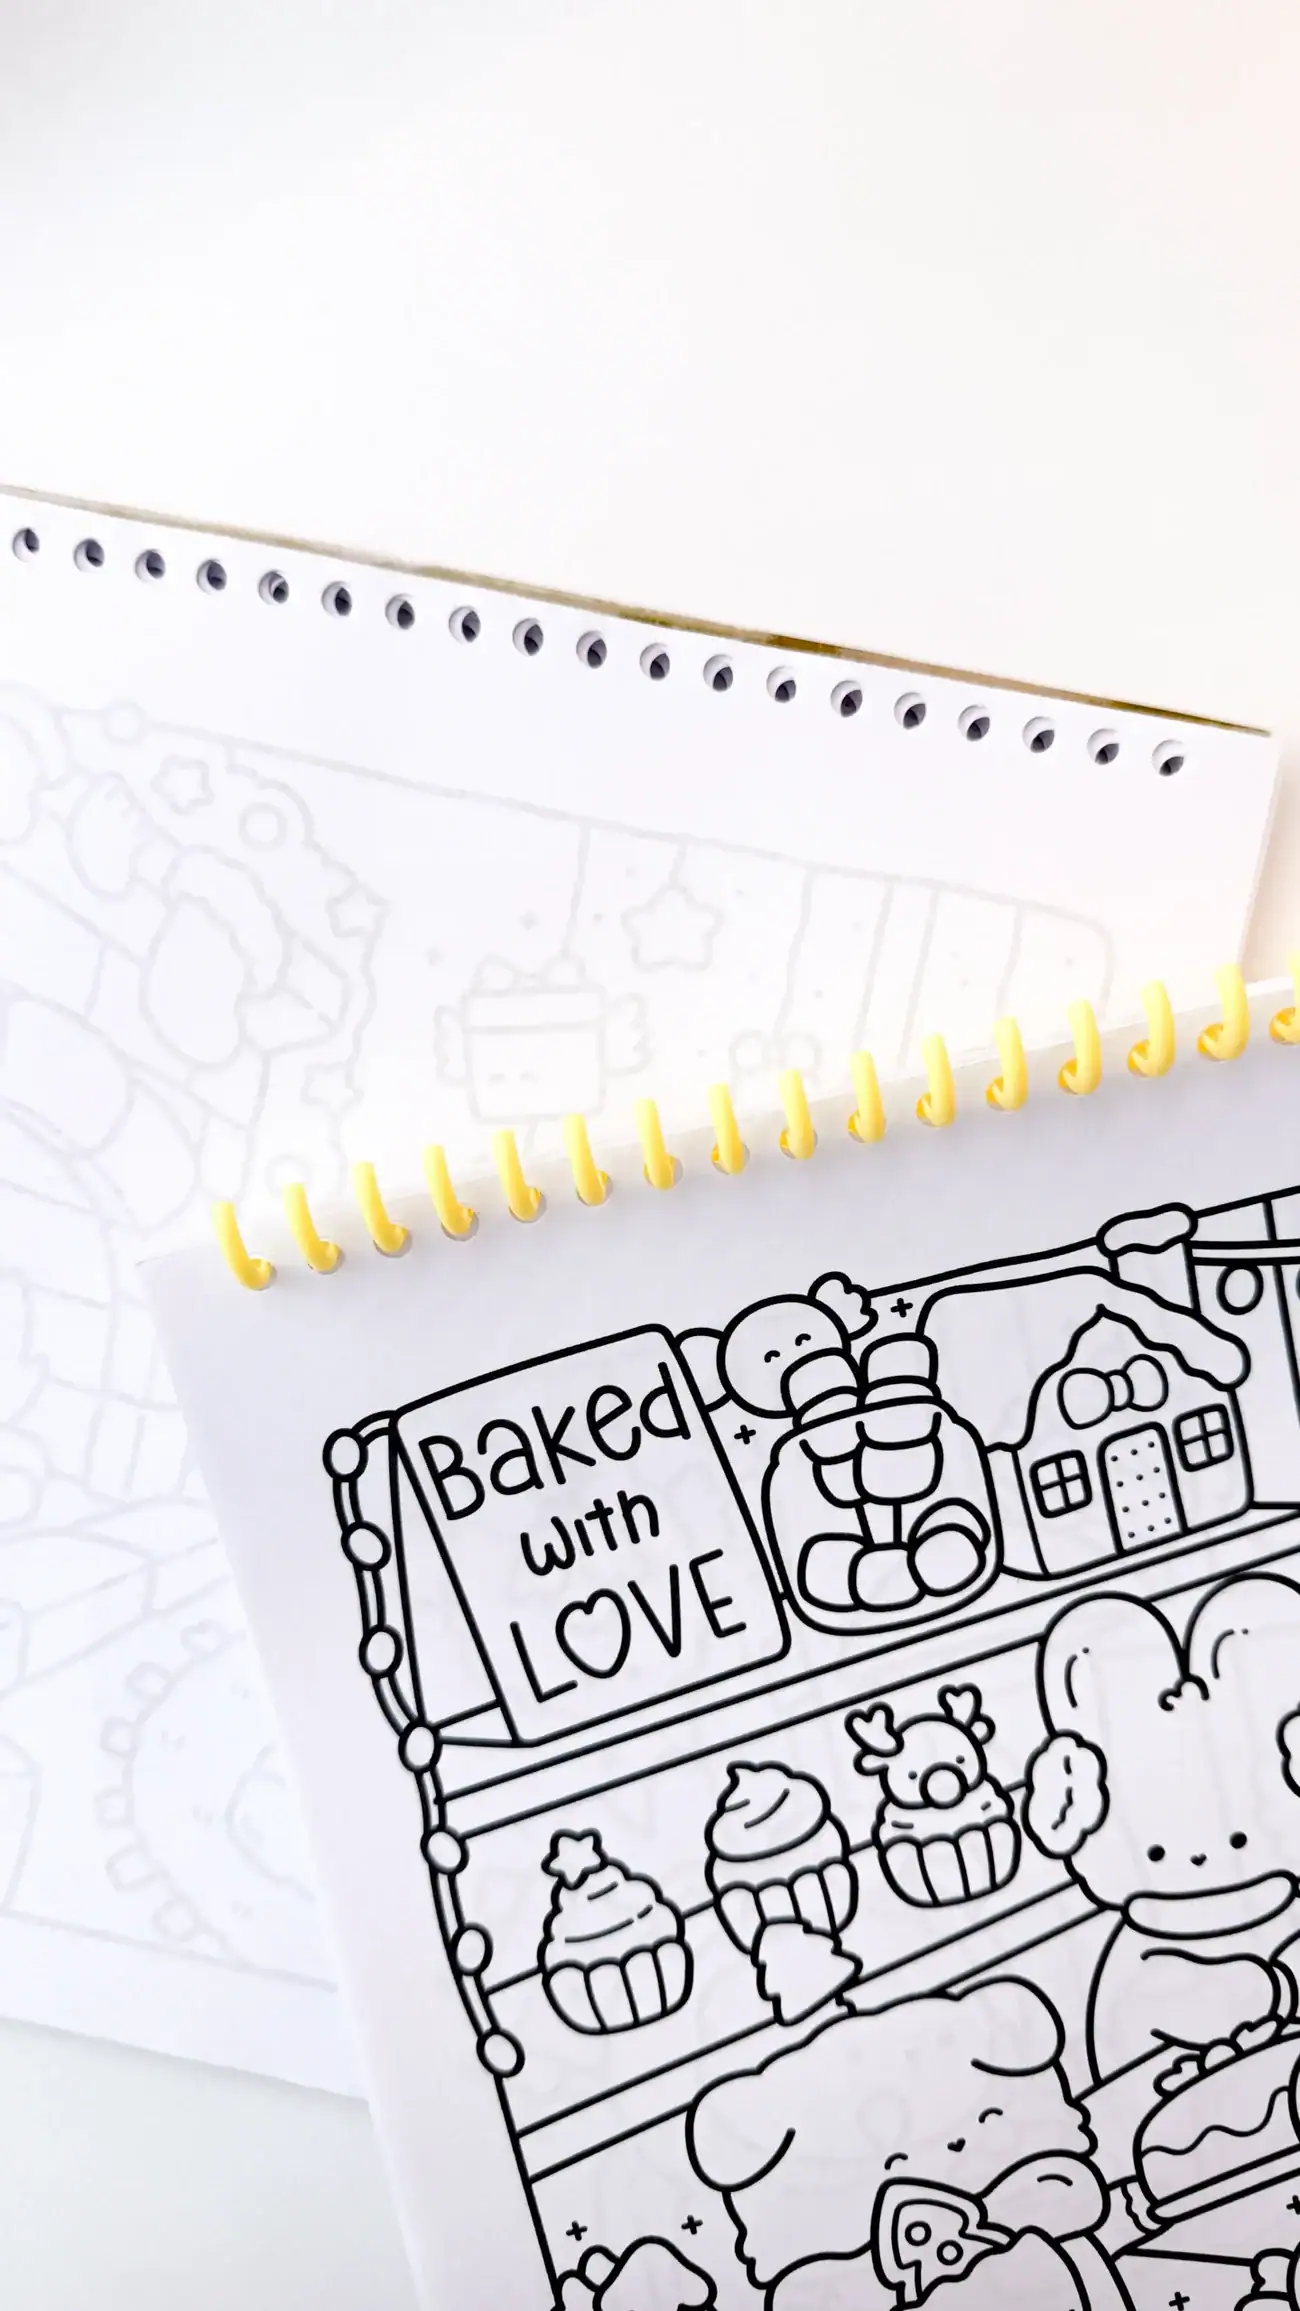
Step 2: Punch the binding holes into the coloring pages and covers
Now it’s time to make the holes that the spiral coil will slide through. Align your pages neatly and use your 6-hole puncher (or binding punch) to create the row of holes.
✨ Tip: Punch up to 4 pages at a time. More than that, and your puncher may jam, and nobody wants “craft chaos” on binding day.
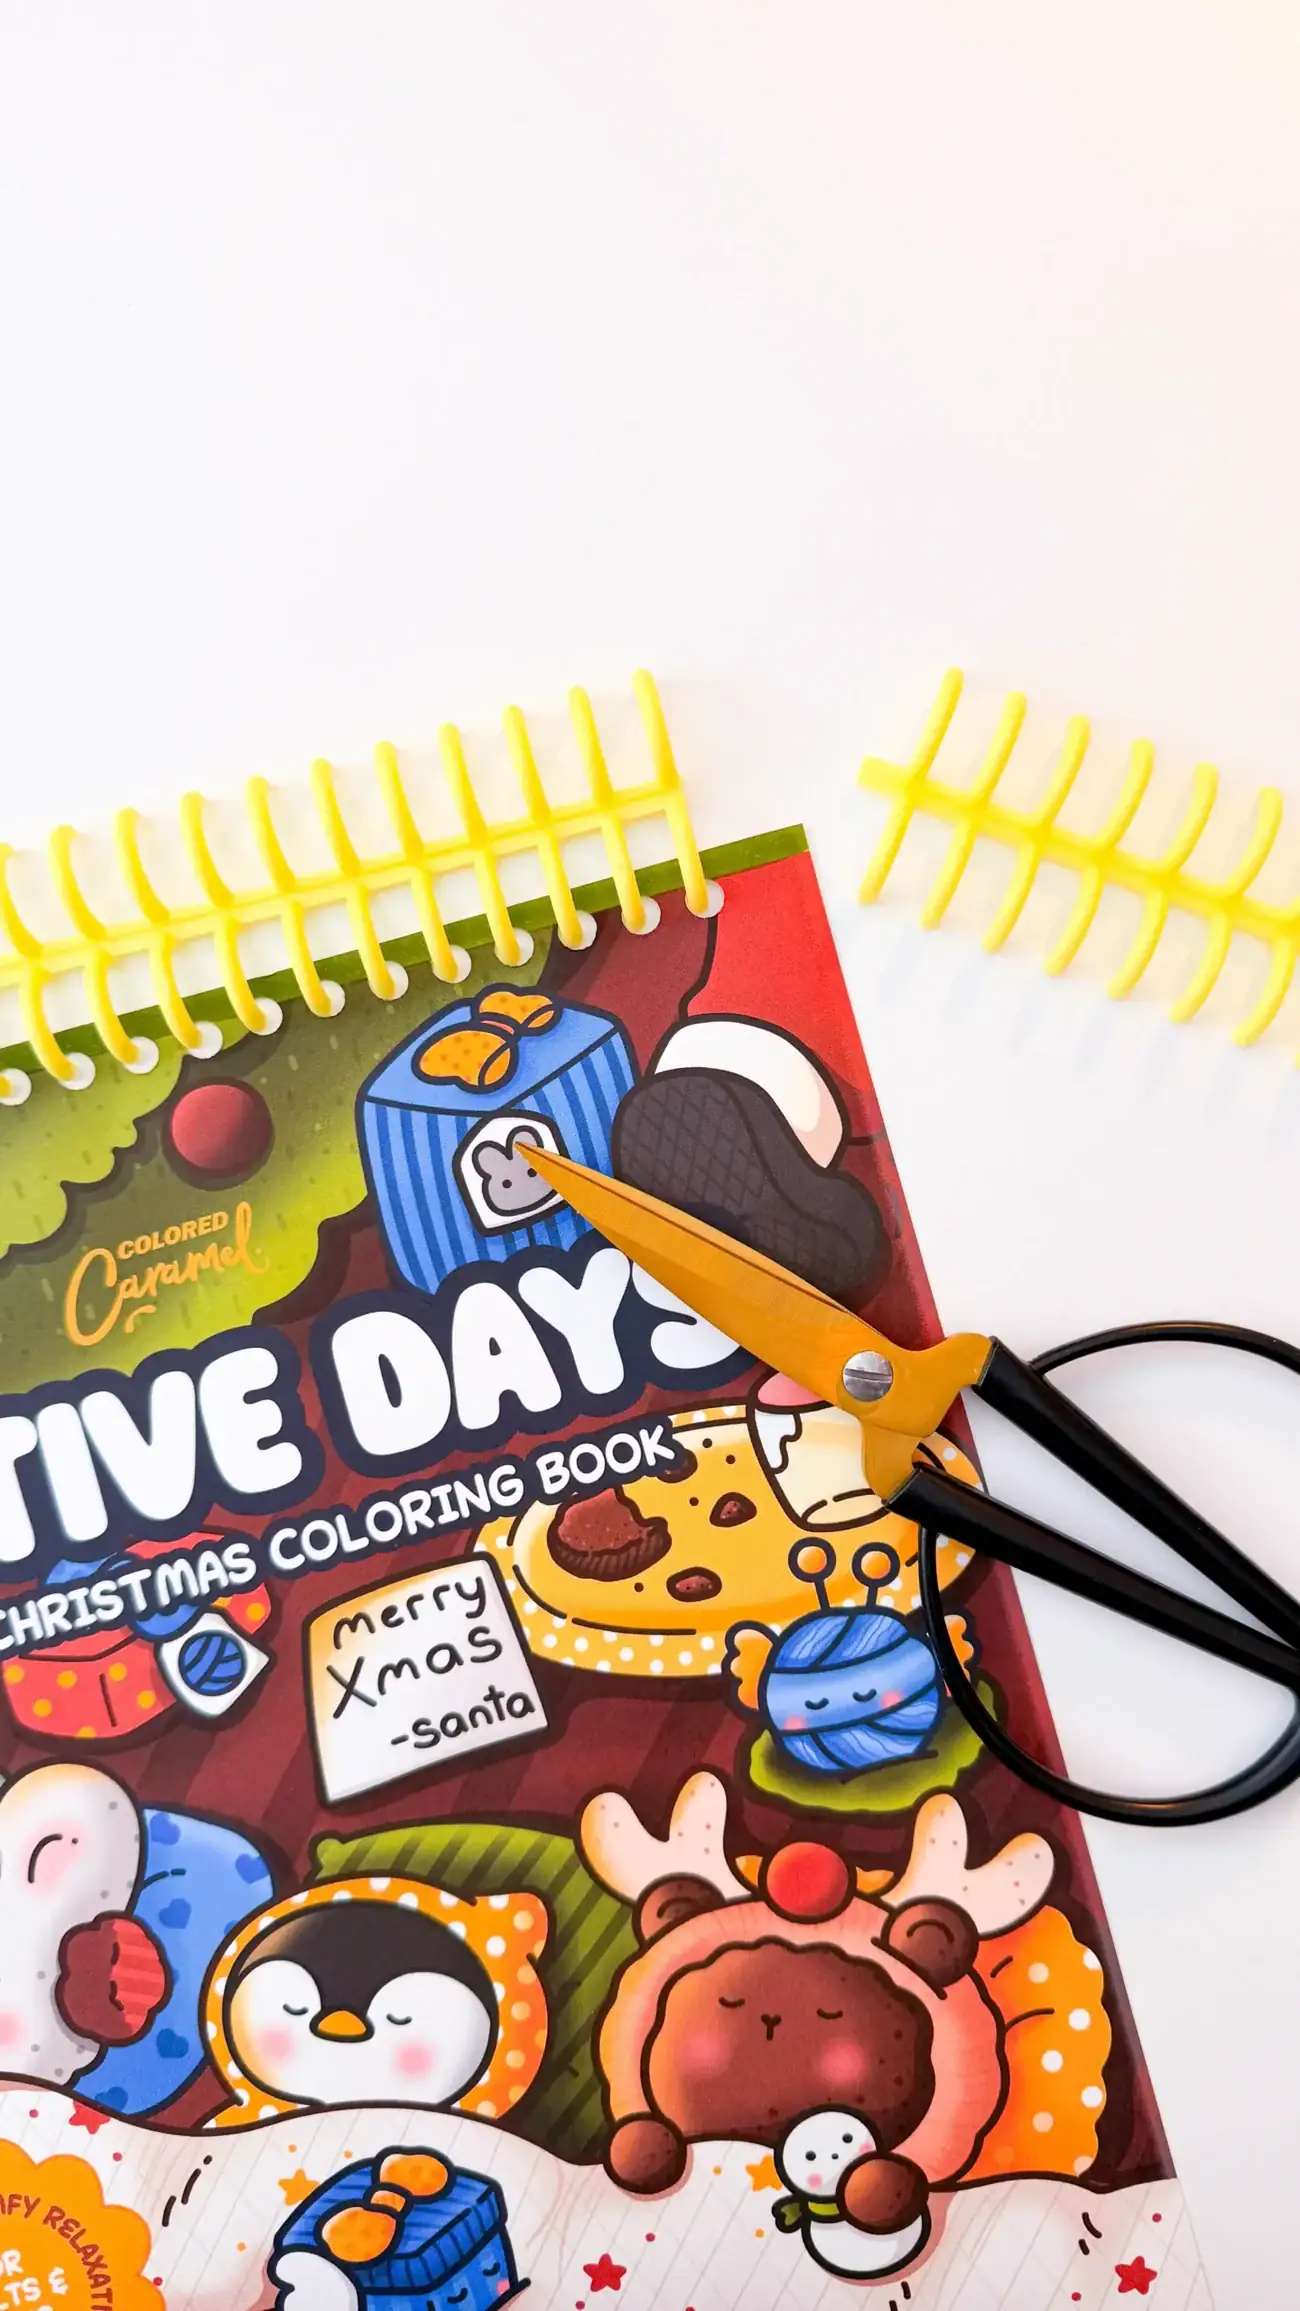
Step 3: Prepare (and Trim) Your Spiral Coil
Take your spiral coil and place it next to your stack of pages to measure how long it needs to be. Using scissors or wire cutters (depending on the coil material), trim it so it matches the height of your book perfectly. Think of this step as giving your coil a little haircut.
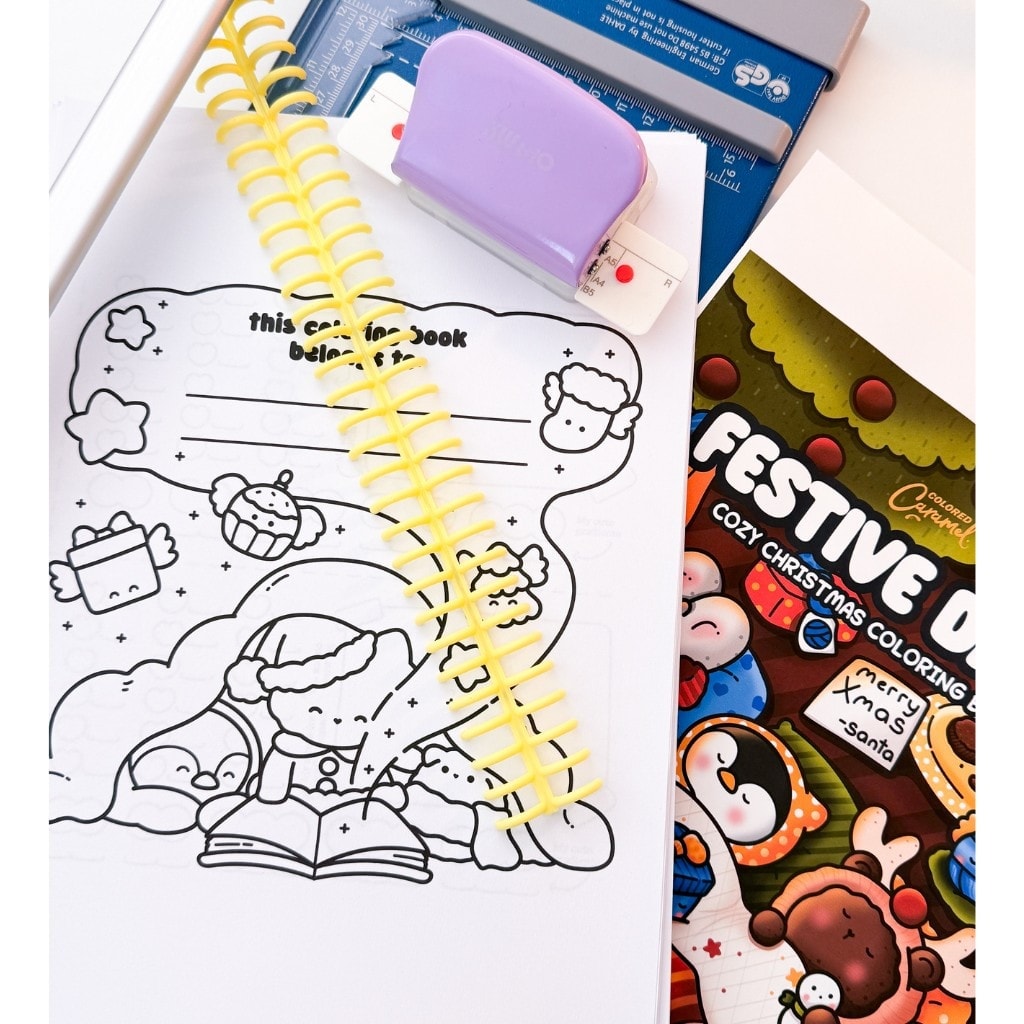
Step 4: Thread the Coil Through the Pages
Start with the front cover, then thread the coil through the holes of all your coloring pages, and finally through the back cover. Take your time; once the first few holes are aligned, the rest slides through like magic. This is the moment your pages officially become a book.
Step 5. Close the Coil Rings
Most spiral coils have tiny ends that you can bend inward using small pliers or even your fingers. Simply fold the ends to “lock” the spiral in place so it doesn’t slide out. And that’s it, your book is secure, sturdy, and ready for coloring adventures.
Step 6: Enjoy Your New Coloring Book!
Turn the pages, admire how smoothly it flips, and start coloring your first illustration. Spiral binding makes it easy to color anywhere, on the couch, in bed, at your desk, even outside in the sunshine. ☀️
The Coloring Book Featured in this Tutorial 🎄✨
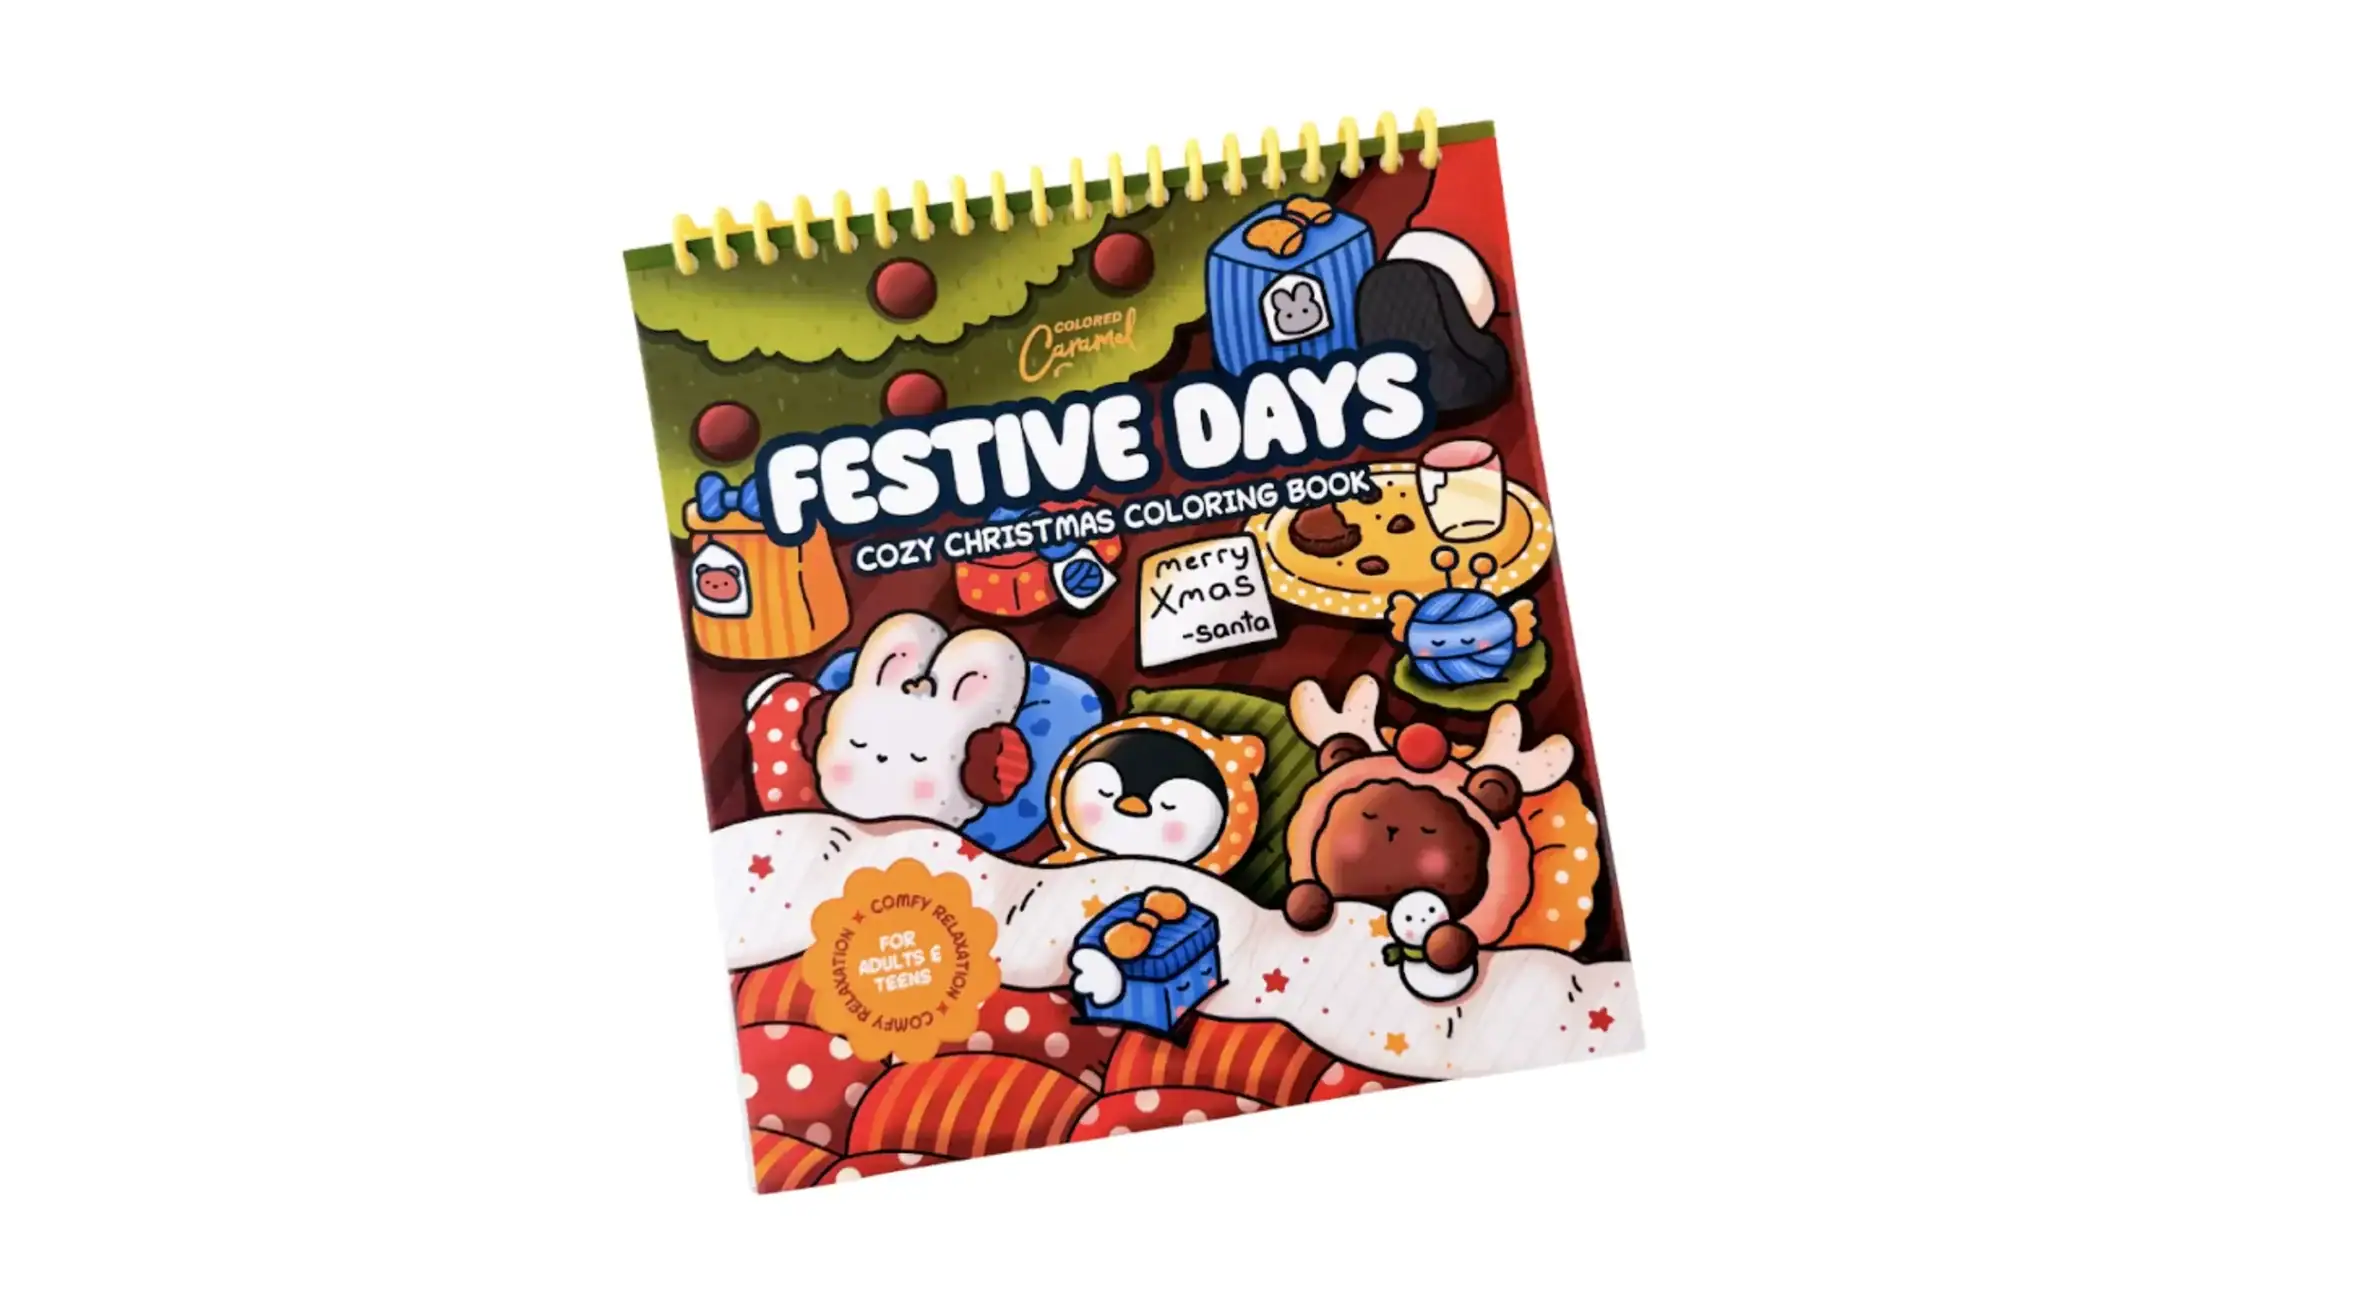
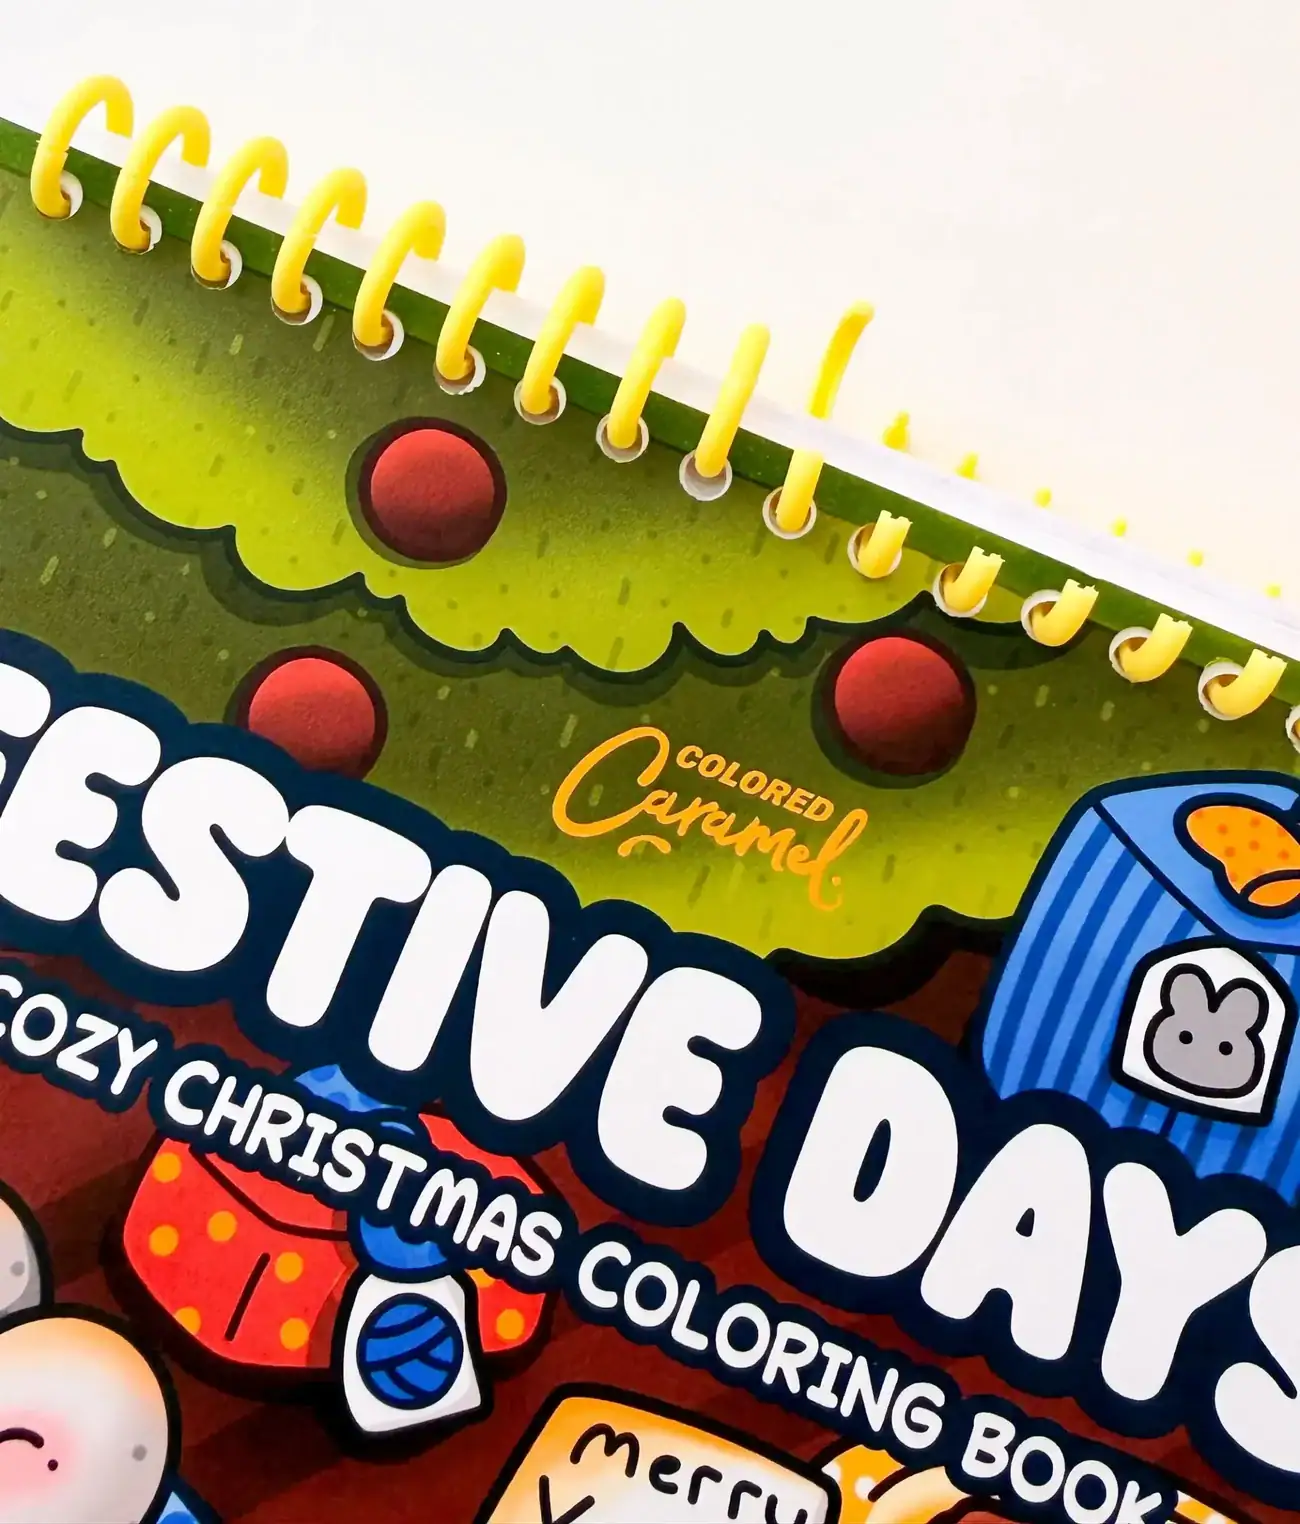
For this step-by-step guide, we used pages from our Festive Days Cozy Christmas Coloring Book, featuring a warm, cheerful collection filled with cozy scenes, cute characters, and all the magical little moments that make December feel extra special.
It’s designed for adults and teens who love relaxing, soft, feel-good illustrations, and it’s one of our community’s favorite holiday books to print and spiral bind. If you want to try binding your own copy (or simply want adorable pages to color!), you can find it here: Festive Days Cozy Christmas Coloring Book.